If you’re starting with Dynamics 365 or Dataverse plugin development, the Plugin Registration Tool (PRT) is the very first tool you must set up.
It allows you to:
- Register plugin assemblies
- Configure plugin steps
- Manage Pre-Images and Post-Images
- Update or unregister plugins safely
In this article, we’ll walk through two supported ways to install and use the Plugin Registration Tool:
- Using Power Platform CLI (PAC) – Microsoft’s official approach
- Using XrmToolBox – the most widely used developer-friendly approach
Both are valid. Your choice depends on your workflow.
Option 1: Install Plugin Registration Tool Using PAC CLI (Official Way)
Step 1: Install Power Platform CLI
Download and install PAC CLI from the official Microsoft documentation:
https://learn.microsoft.com/en-in/power-platform/developer/howto/install-cli-msi

After installation, verify it using the below command in command prompt:

where pacStep 2: Authenticate to Dataverse
Authenticate using your work account:
pac auth create
Complete the browser login and select your Dataverse environment.

Step 3: Launch Plugin Registration Tool
Run the following command:
pac tool prt
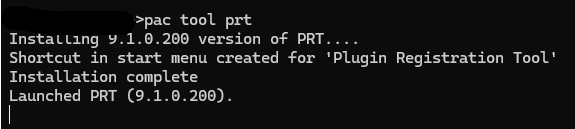
PAC CLI will:
- Download Plugin Registration Tool (if needed)
- Launch it automatically
- Connect it to your authenticated environment
Plugin Registration Tool is now ready to use.
Option 2: Install Plugin Registration Tool Using XrmToolBox (Most Popular)
XrmToolBox is the most widely used tool in the Dynamics ecosystem and is preferred by many developers for daily work.
Step 1: Download XrmToolBox
Download from the official website:
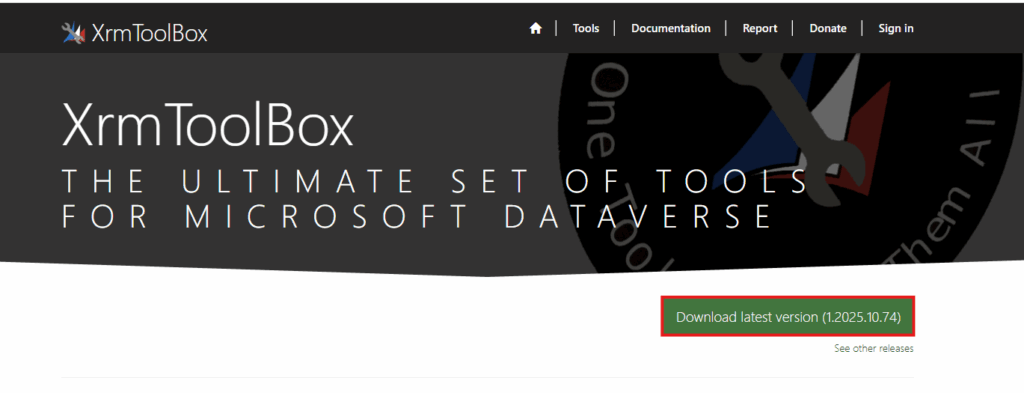
Install and launch the application.
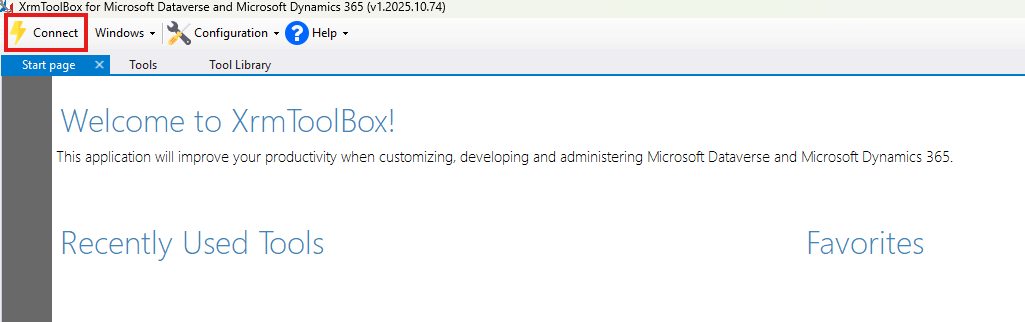
Step 2: Create a Dataverse Connection
Open XrmToolBox
Click Connect
Choose OAuth authentication
Provide:
- User
admin@yourorg.onmicrosoft.com - Environment URL
https://yourorg.crm.dynamics.com - Region (for example: India)
Complete Microsoft sign-in.
Step 3: Install Plugin Registration Tool
Go to Tools → Tool Library
Search for Plugin Registration Tool
Click Install
Once installed:
- Open Plugin Registration Tool from the Tools menu
Plugin Registration Tool is now available and connected.
Common Issues & Tips
- Always use a work account, not a personal Microsoft account
- Ensure you’re connected to the correct environment
- Avoid using Demo Hub environments
- Dataverse must be enabled
- Restart XrmToolBox if tools don’t appear after installation
Conclusion
Installing the Plugin Registration Tool is the first real step in Dynamics 365 / Dataverse plugin development.
Microsoft supports two valid approaches:
- PAC CLI for official, automation-friendly workflows
- XrmToolBox for simplicity and everyday development
Choose the one that fits your workflow, both lead to the same powerful plugin development capabilities.
What’s Next?
Now that the Plugin Registration Tool is installed and ready, the natural next step is to apply the concepts already covered on PowerStack Engineering.
In upcoming posts, we’ll focus on hands-on plugin registration, including:
- Step-by-step walkthrough of registering a plugin assembly
- Choosing the correct message and primary entity during registration
- Registering plugin steps using real-world examples
- Configuring plugin steps efficiently to avoid common mistakes
- Putting together pipeline, execution mode, and images in real scenarios
Theoretical concepts such as plugin execution pipeline, synchronous vs asynchronous plugins, and Pre-Image vs Post-Image have already been covered in earlier posts and will be referenced as needed.
These upcoming articles will focus purely on practical implementation and real plugin registration workflows.